20 Views Drawing Exercise – Step By Step Tutorial
This 20 views drawing exercise will activate your thinking by encouraging you to look and see an object from multiple viewpoints. Understanding it’s shape and form, and how it exists in three-dimensional space will help you to see how light interacts with these elements to produce shadow, which also informs how we perceive shape and form.
It’s a way of ‘knowing’ an object – getting to know all aspects of it, angles you might normally overlook.
You will see individual objects as shapes that can be depicted with simple lines or shapes that can be described with light and shadow (shading) only.
The objective is to first draw with line, however lightly. Then to indicate light and shadow – to bring out form – using basic shading. You don’t need elaborate textures at this stage.
All the projects in Level 1 facilitate ‘looking’ first (visual interrogation) and then drawing (physical).
It’s basic but a fundamental practice that can activate your thinking in a meaningful way, without needing to employ visual ‘tricks’. Sometimes, the simplest representation can also be a memorable one.
Materials
- Charcoal, micron pen, graphite, lead pencil.
- Any paper, preferably a fine ‘tooth’ – a heavy ‘tooth’ will be challenging – the deep texture will interfere with capturing the accuracy of shapes. Rather focus on the drawing and leave the textural qualities for later levels.
- You can also use a dip or calligraphy pen, but charcoal, pencils or micron give you much more ‘sketching’ flexibility. And you won’t have to worry about ink spills and drips on the page.
- You need a prop – for this exercise we’re using a simple coffee cup
Drawing prompts:
👉 Don’t worry about drawing perfectly - aim for observational accuracy instead, ie. don’t judge the quality of the line, be as ‘rough’ and sketchy was you want.
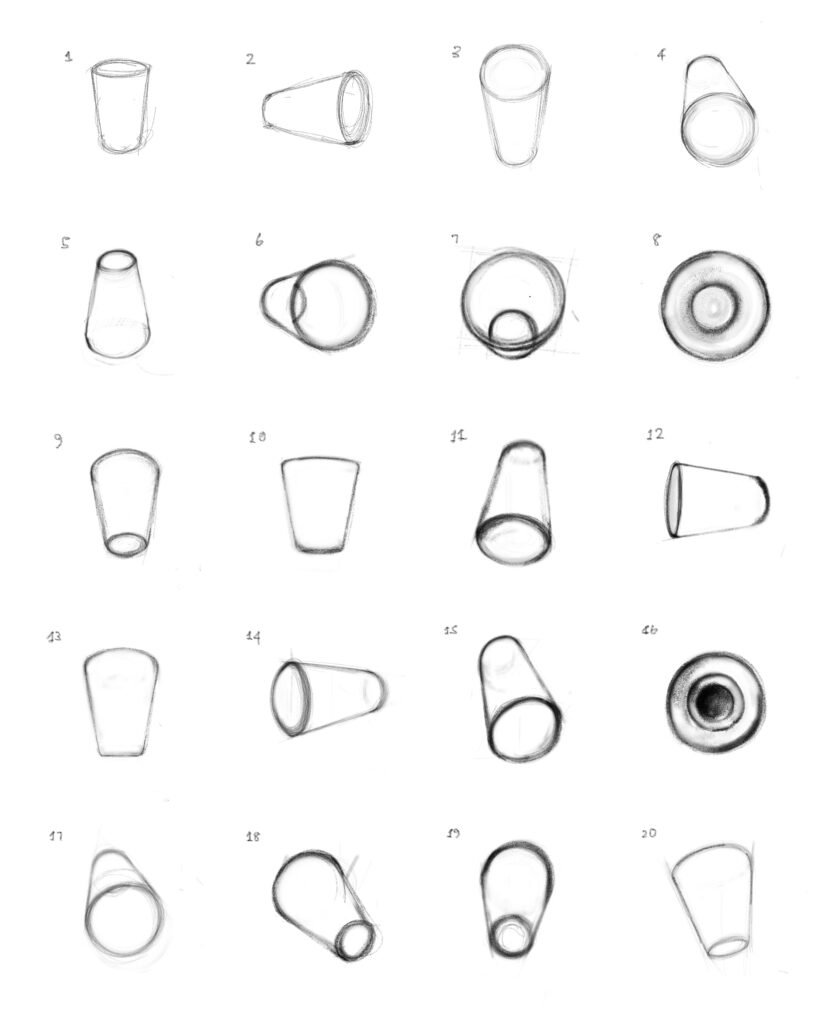
1. Position the cup linear, seeing a bit of the inside top down
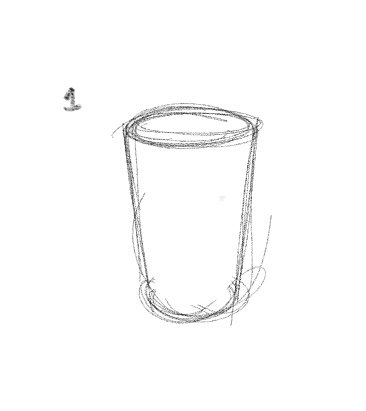
2. Position the cup on its side, seeing a bit of the inside
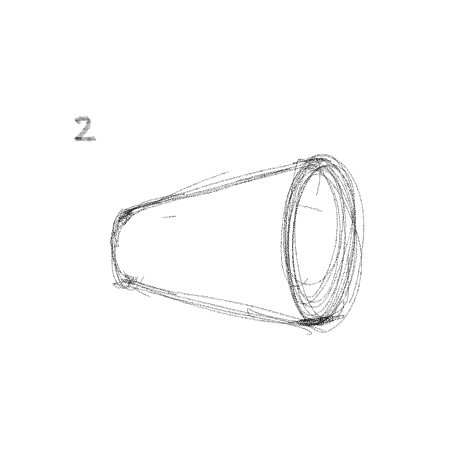
3. Position the cup upright, this time; lift your viewpoint higher and see more of the inside; notice the top, the rim gets rounder
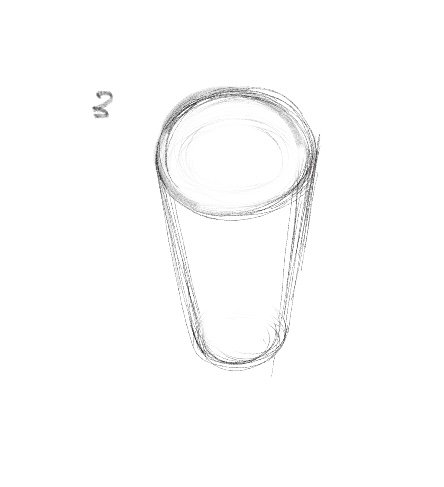
4. Flip the cup down with the inside facing you; position it so that left side is 90 degrees; notice the circumference – is it perfectly round or slightly oval due to subtle perspective?
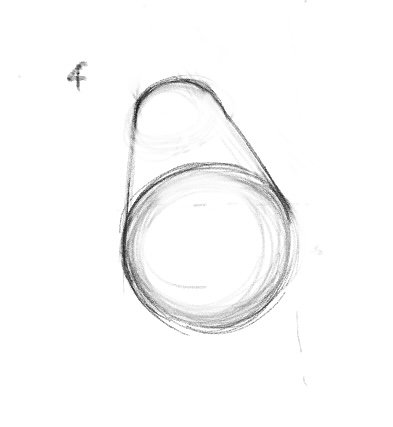
5. Position the cup upside down; your eye level should be 45 degrees looking down; notice the roundness of the top and the bottom circle – which one is rounder, which one appears more oval due to perspective?
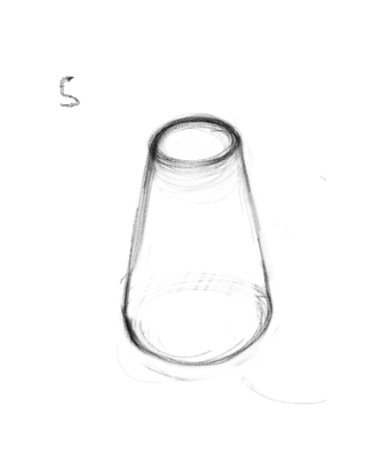
6. Position the cup in it side with the top facing you; swivel to the right slightly until you see some of the inside base; notice the forshortening, ie. how much longer the right side looks and how ‘squat’ and short the left side looks.
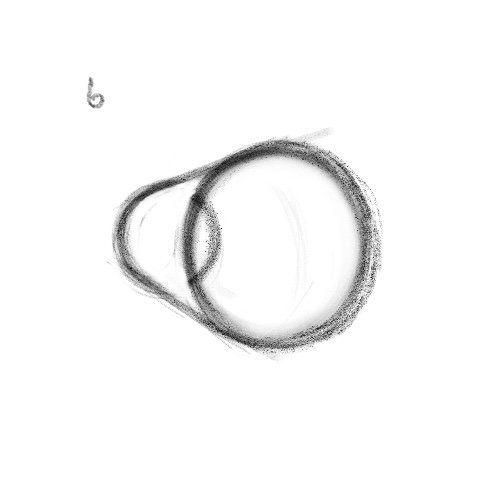
7. Now tilt the cup upright and push away from you until you see a bit of the wall underneath; notice the bottom of the inside base too; notice how the inside rim circle is ‘completed’ by the outer wall and base underneath (it’s the same structure).
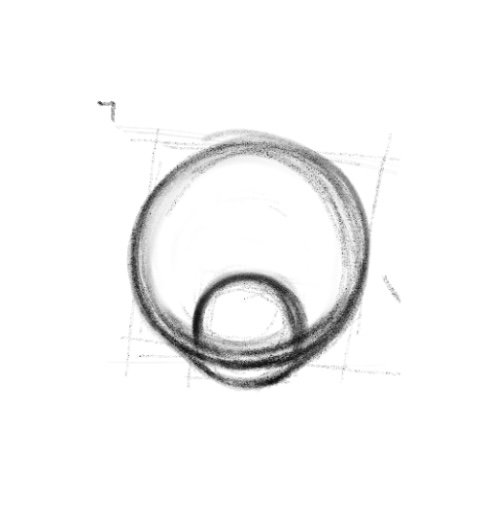
8. Keep the same position, but move your viewpoint high up so you’re looking straight down; see the bottom of the base and the widest rim is a perfect circumference.
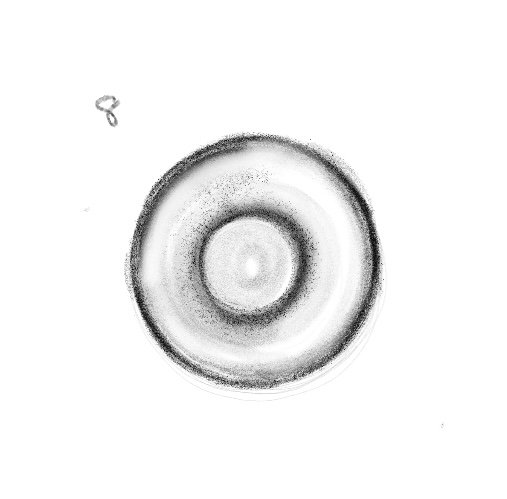
9. Tilt the cup upright and lean it against a book or wall so the bottom rim can be seen
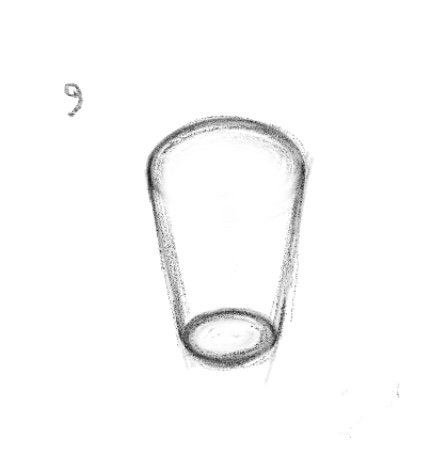
10. Tilt the cup back down so the base if completely linear – look at the top rim, observe closely and notice the subtle arc.
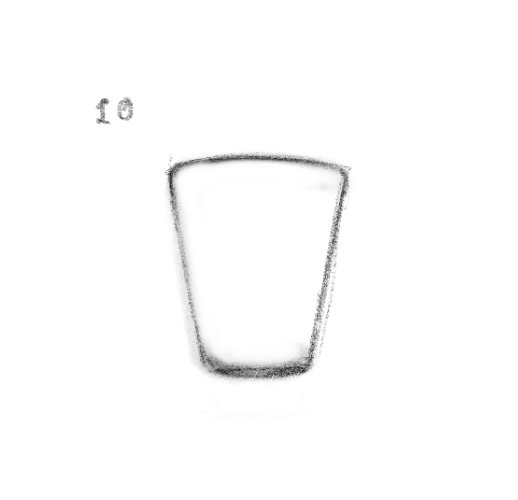
11. Flip the cup over so the inside is facing you and looking at it top down; notice the oval shape of the open rim – is the base rounder or the same curve?; just because it’s a smaller circle doesn’t mean it’s rounder…observe closely.
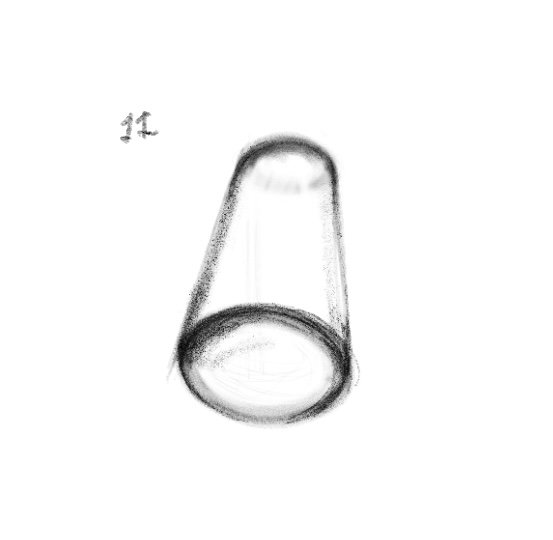
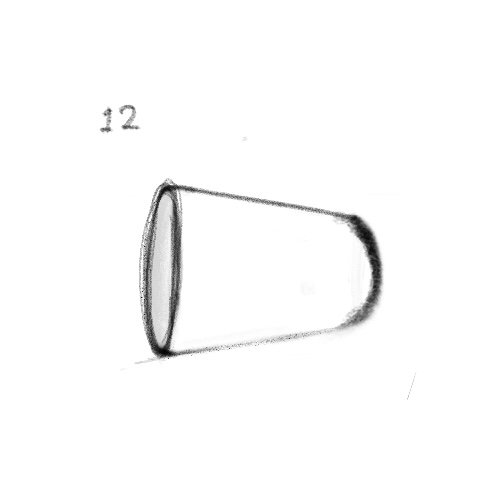
12. Swivel the cup 90 degrees so that the side is linear, move your view point lower and see about 10 percent of the inside; notice the lines of the sides – the bottom side will appear sharper because it’s further away from your eye; notice the oval shapes of the open rim and the base, are the curves similar at this angle?
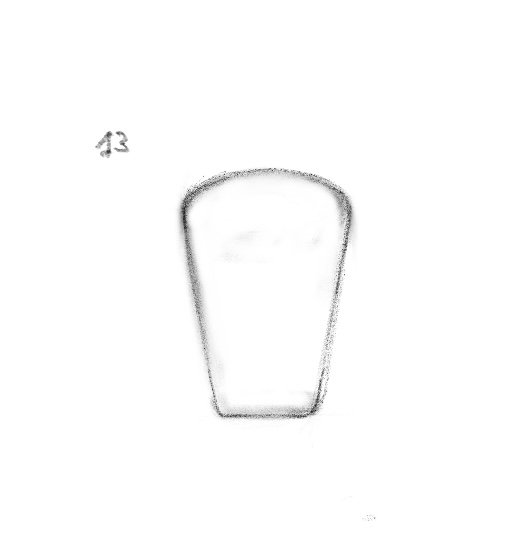
13. Flip the cup back upright and move your viewpoint so that rim appears like a subtle arc.
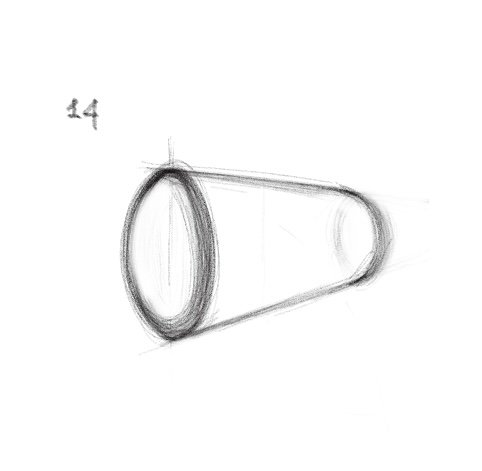
14. Flip the cup down and tilt it over to the left and swivel forward so you see a bit of the inside wall.
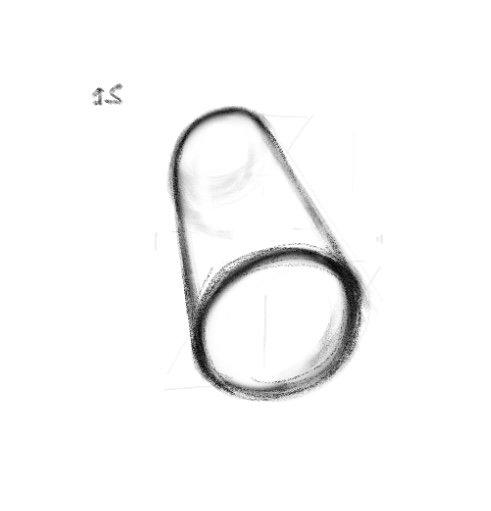
15. Swivel to the right and move your viewpoint up so your looking more top down.
16. Flip the cup upside down; lift your viewpoint so you are looking from the top down over the base (aerial view); you should see two circles, ie. the base and the top of the outer rim.
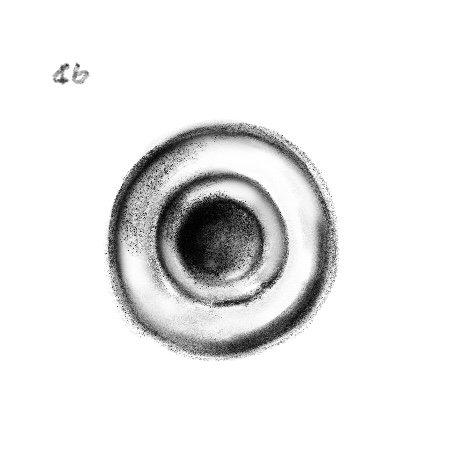
17. Flip the cup back over so the inside faces you; swivel it slightly to the right; now notice a tiny bit of the base peeking out from the inside.
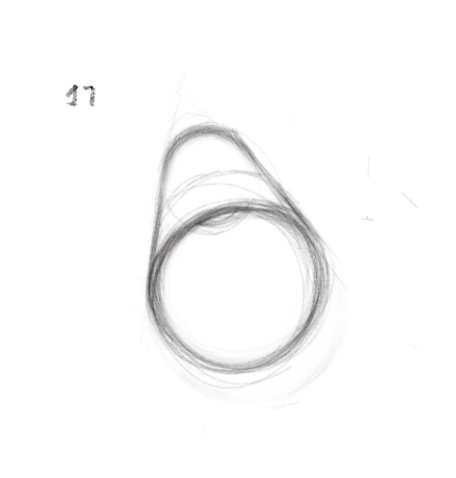
18. Swivel the cup left so it faces backward at a 45 degree angle; notice the shortening of the sides – the bottom appears longer than the top because of the perspective.
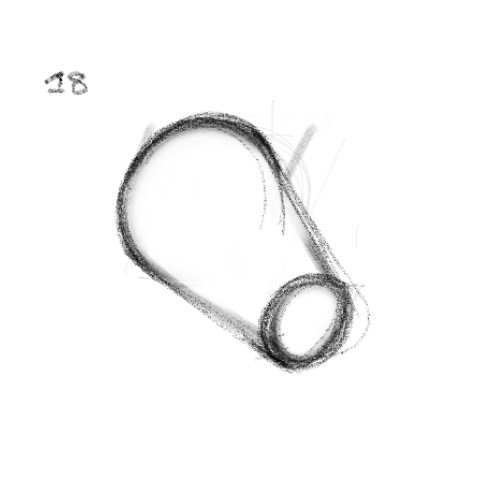
19. Keep the same position and swivel the cup to the right so the top rim appears rounder.
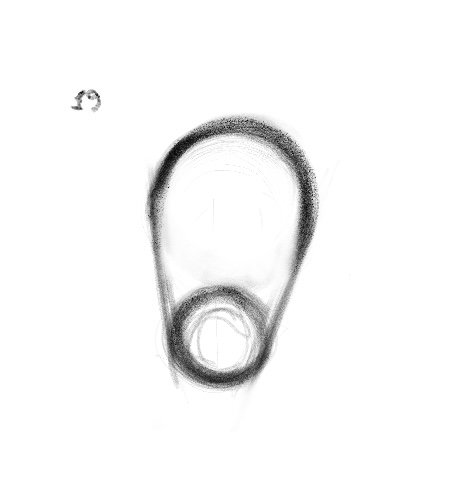
20. Swivel the cup back to the left so the right side appears almost 90 degrees; now, lift your viewpoint higher and notice how the base and top rims appear less round this time.
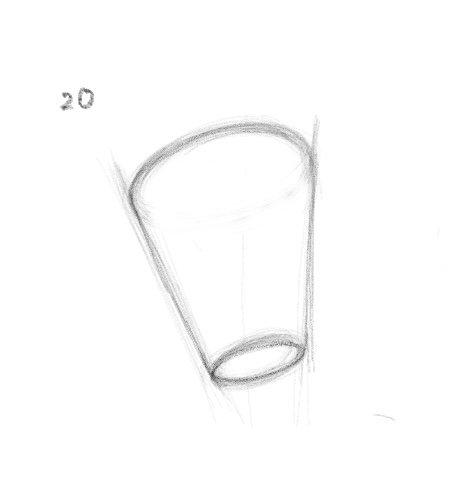
*Sketches – created in Procreate on A4 format, using Charcoal/ Hippolyte, Florentine, Nutgrove setting, varying opacity and weight as desired.
Drawing is physical – use your whole body to see
- As you raise yourself and your eyeline, the top of a round shape gets rounder – because you’re looking top down
- As you lower yourself and your eyeline, the top of a round shape gets flatter – because you’re looking linearly
Mark-making
These swatches are mostly textural but you can also use it to describe shapes and forms effectively, without it becoming subjective. Remember, what you’re after is observation. At this stage, don’t cover up areas with textures. Observational drawing is not easy, but once you get comfortable with looking and being objective about what you see, you will get better at it. The most awkward line can become mesmerising if it captures the essence of an object well. Then, the textural qualities become either unnecessary or a ‘nice-to-have’.
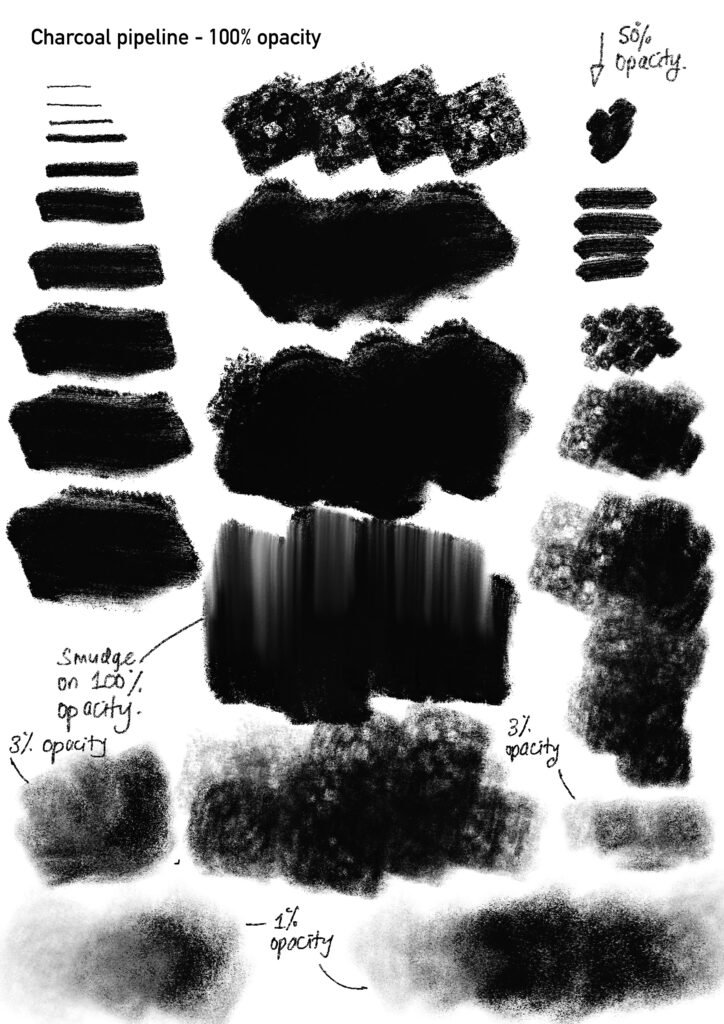
Caption – created in Procreate on A4 format, using Charcoal/ Pipeline setting, varying opacity and weight as desired.
Final Thoughts
At the end of this exercise you should:
- Be able to exploit the simplest object – if you are blocked and unable to generate an idea, simply look and experiment freely with viewpoints to activate your visual thinking.
- Re-learn drawing, refresh your visual training or flex your drawing ‘muscle’ without the overwhelm of a complex composition or still life.
- Be able to do these 20 exercises in any drawing style you are comfortable with.
- Choose an object of special interest to you and repeat the exercise.
Instead of guessing what to draw, try this next step:
👉 Use the practice lab to generate more ideas
Practice Tips
- A doodling style is commonly used in professional illustration
- Drawing is a physical activity – as well as a mental one- and demands concentration. Go easy on yourself. For example, if a doodling style you normally use while scribbling on post-it notes works for you, go ahead and use it. There is no right and wrong. Drawing is for everyone. You don’t have to be an artist. Simply, enjoy the process.
- If you like a challenge, pick an object you dislike, or one that makes you mildly uncomfortable – as long as feel you safe. Repeat the same process and look at it from multiple angles. It will feel counterintuitive at first, but it can be used to free your thinking and loosen your inhibitions for drawing.
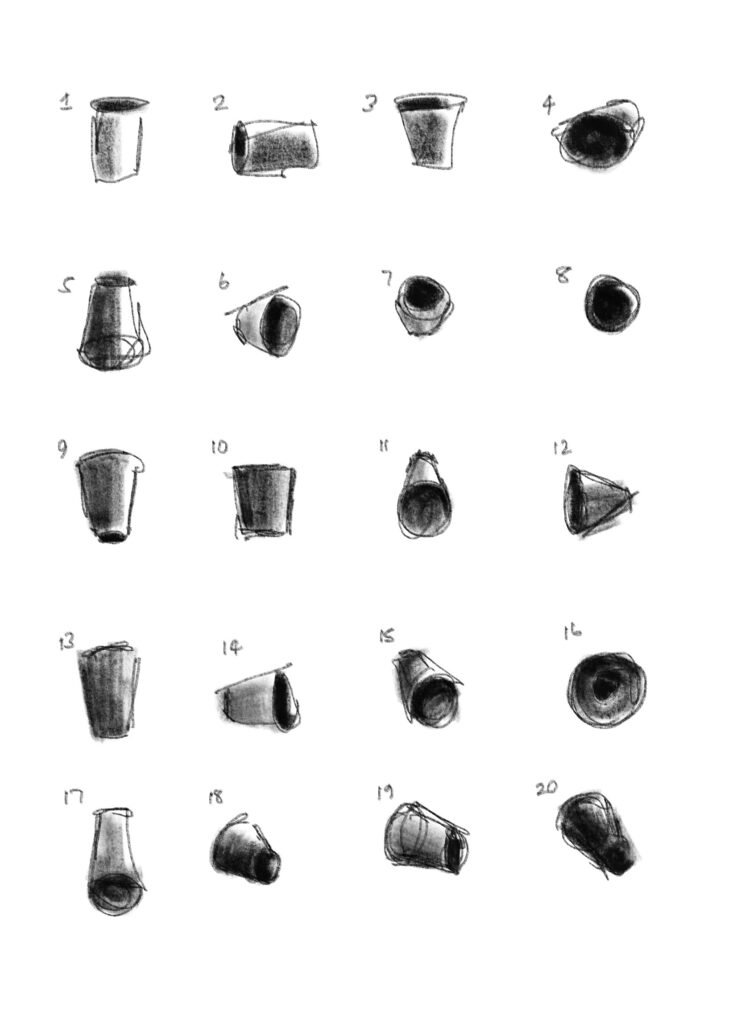
20 cup drawing exercise – rough sketches
Related reading:
20 Simple Drawing Exercises Using a Coffee Cup (That Actually Improve Your Skills)
Why Your Drawings Look Flat (And How to Fix It)
How to Train Your Eye to See Like an Artist (Beginner Guide)
the drawing journal
Stay close to the practice.
New exercises, prompts, and observational challenges — sent directly to you. No noise. Just drawing.