Who’s this for?
Image-makers, artists, illustrators, architectural students, beginner drawing artist, creative hobbyists and designers (2-D, 3-D, motion).
An exercise in seeing
Drawing doesn’t begin with a pencil.
It begins with looking.
Before we draw something, we usually decide what it is. A pencil sharpener is a pencil sharpener. A screw is a screw. A building is a building. We recognise the thing almost instantly, and because we already know what it is, we stop looking at it.
This is where drawing can become interesting.
The purpose of these exercises is not to make a beautiful drawing. The steps in this exercise are about slowing down your looking and paying attention to what is actually there — the shapes, textures, angles, patterns, fragments and details that you might normally overlook.
For this first exercise, we’re going to use an ordinary pencil sharpener.
It doesn’t need to be beautiful or interesting. In fact, the more ordinary the object, the better. The challenge is to see what else might be hiding inside something you think you already know.
We’ll look at it from multiple viewpoints, extract details from it, imagine those details as something else, find patterns, exaggerate small elements and eventually transform them into something new.
Think of this less as a drawing exercise and more as an exercise in seeing potential.
Because when you learn to see differently, you begin to discover that there is far more to draw than you first thought.
#001 Pencil sharpener
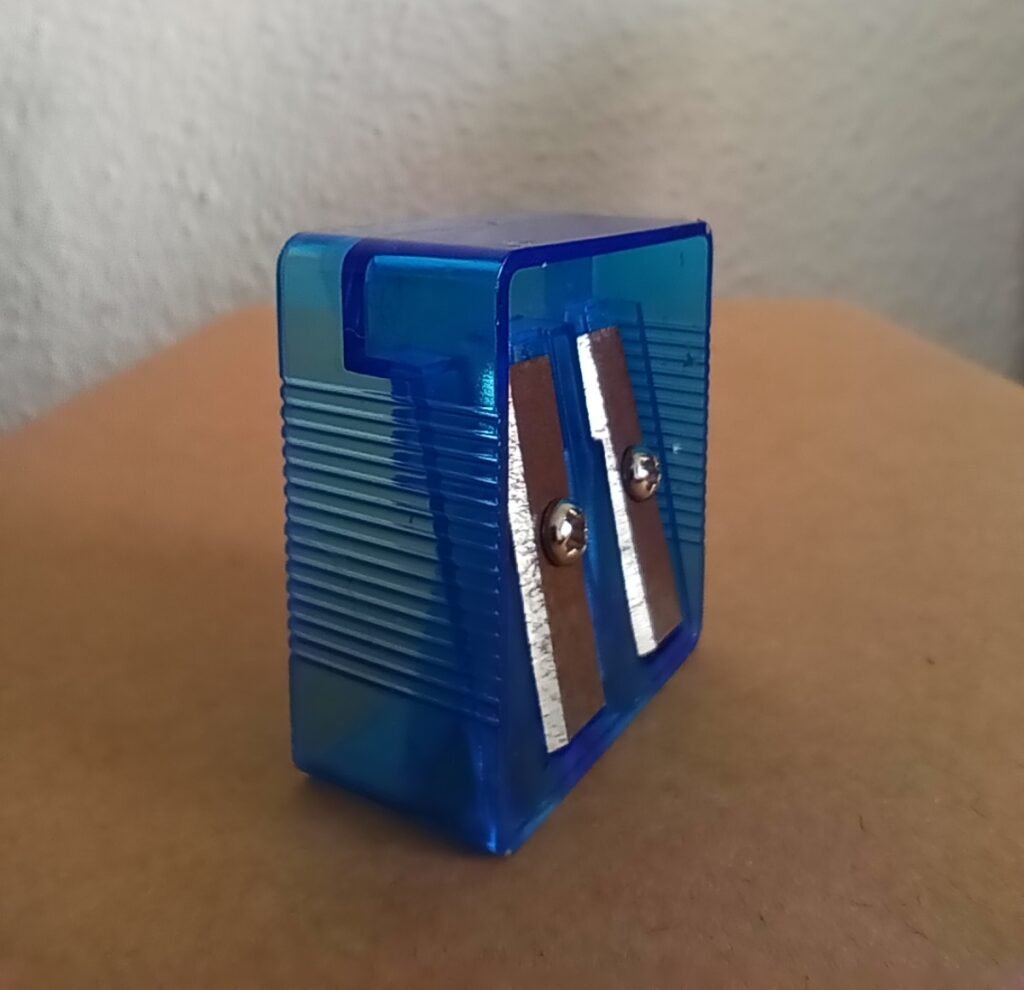
Step 1:
Try the 20-Views tool
Run this through the 20 Views generator – place your pencil sharpener in front of you, navigate to the tool, follow the 20-views tool steps. Go through each step and follow the prompt explaining how to observe your object.
Step 2:
Extract something
Extract the interesting shapes or components (eg. screws, blades, ridges). What do we mean by extract?
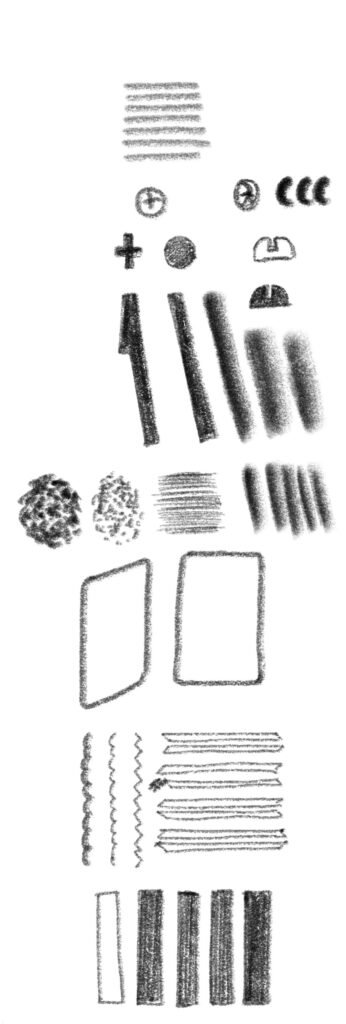
Here’s an easy way to document it:
Draw a long vertical line down the side of your page. At the top of the line draw one detail you find worth calling out, eg. the ridges on the side.
In this example, you can document the ridges by drawing a row of short vertical lines (like a picket fence) making it look like the ridges.
Keep it thumbnail size, so have enough space as you down and make a list of other things you find interesting. You should end up with a rich visual list of interesting textures, shapes, crops, nuances of the original object. This serves as a visual archive of this object you can reference at any time.
Teacher’s tip:
don’t worry if this step makes no sense to you yet. As you go further into the EDA drawing journey, you’ll soon understand the reason for recording, documenting, looking, seeing, in multiple ways – how it can help you uncover concepts, ideas, ways of viewing (viewer), and ways of seeing (artist). Ultimately all this plays a significant part in facilitating your conceptual abilities in the long run. Helping to find more authentic ways of representing what you out put into the world for a vieweer to understand and experience, and more importantly, in how you communicate as an artist, illustrator, designer, architect or simply as an observer of things.
Step 3:
Design a building
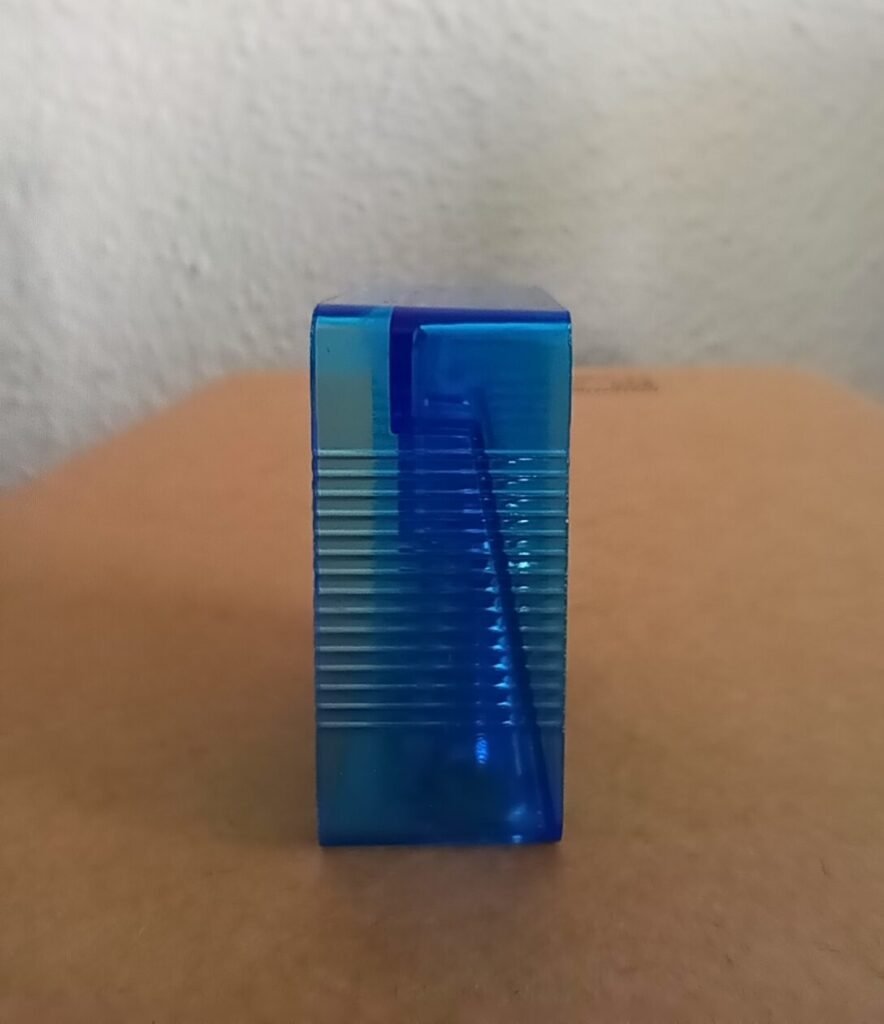
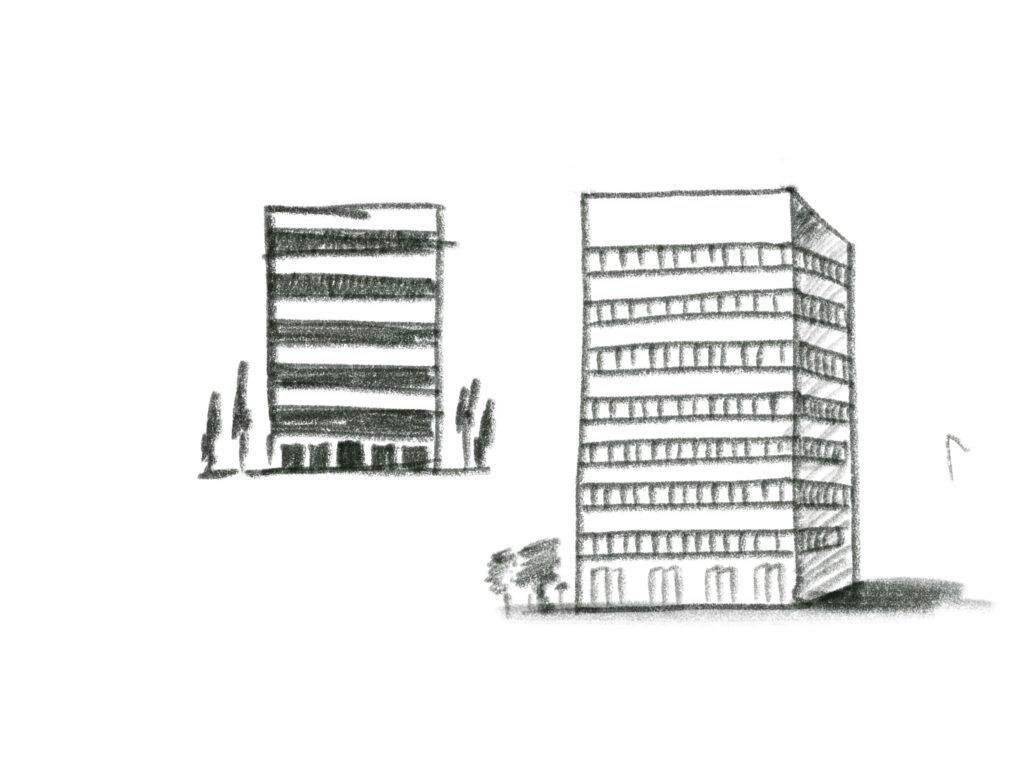
Design a building from it. Architectural students are taught to see potential in any object, place, or human experience. But, when we say ‘draw a building’, don’t be put off. This is not an architectural exercise. Approach it like your 8-year-old self. Use your imagine and visualise the part you chose as a house, or a block with windows and a door; stack the same part and imagine it’s a two-story structure; now imagine it as a life size container that’s storing your car; imagine it with tiny little windows and inside each window is a different scene with little humans visible going about their day-to-day business reminiscent of the narratives of apartment buildings; maybe it reminds you of a place of worship; perhaps you want to design a capsule pod at an airport terminal.
Step 4:
Design a pattern
Inspect the object again – here’s where the 20-Views generator helps you because it trains your eye to look for what isn’t immediately obvious – and try to detect any textural or structural details that appear repetitive. In other words, details that look like they could be repeated.
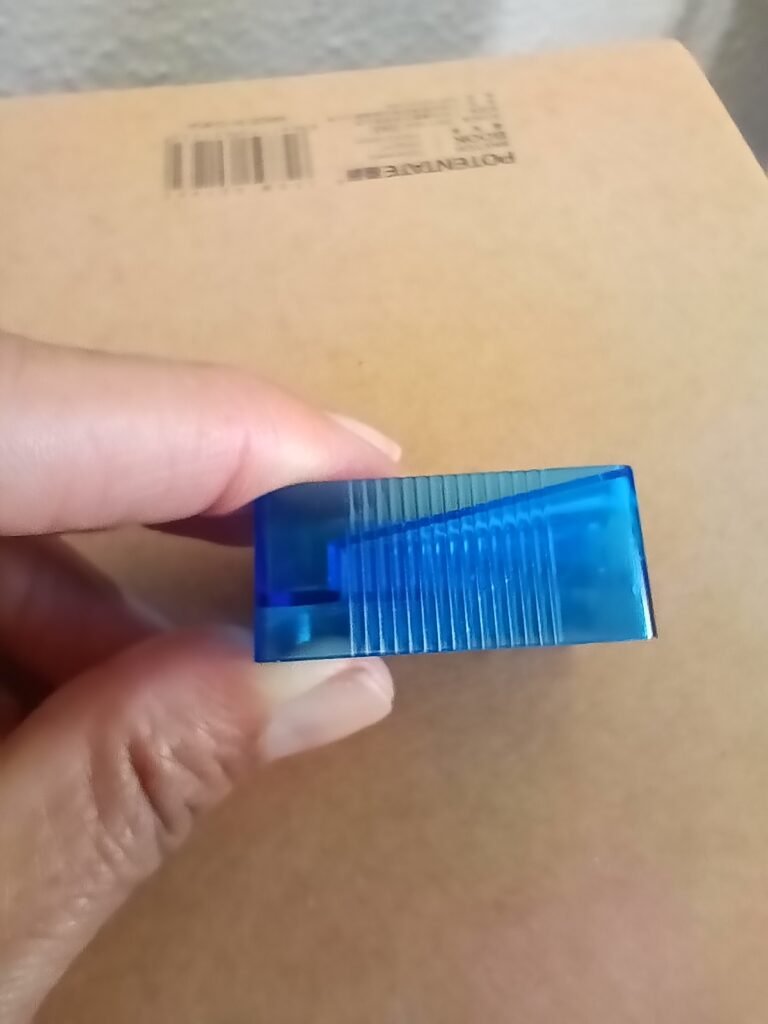
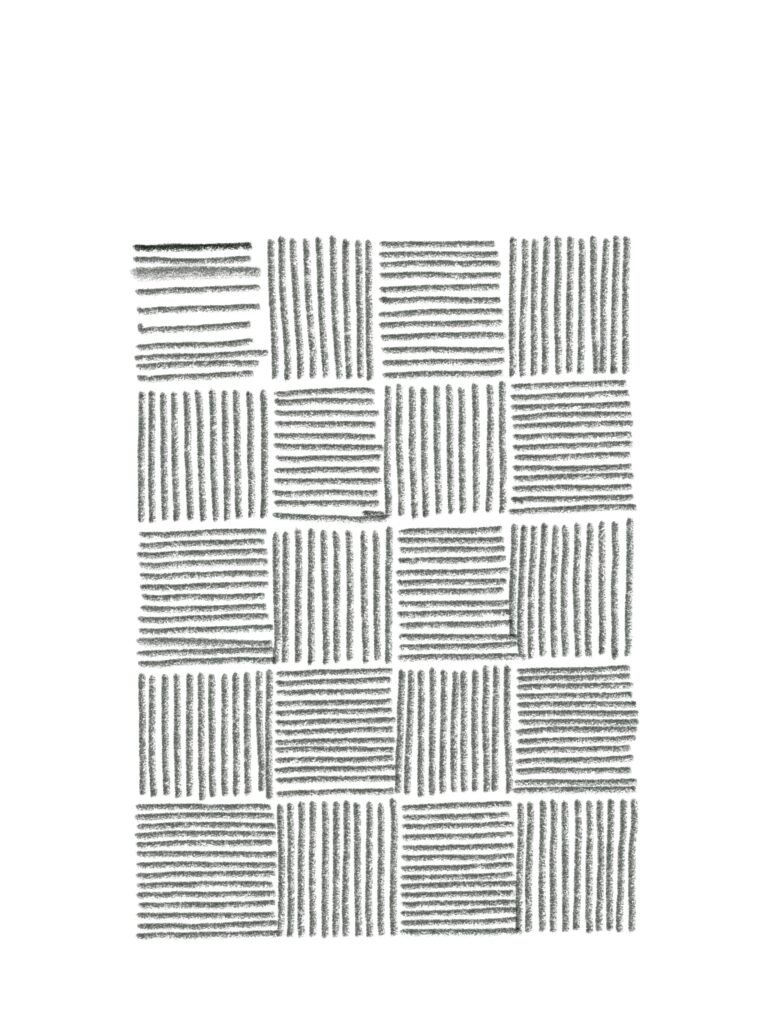
Draw the pattern freehand. This is the most enjoyable. Give yourself permission to draw imperfectly as long as you capture the essence of it.
Step 5:
Spot something interesting
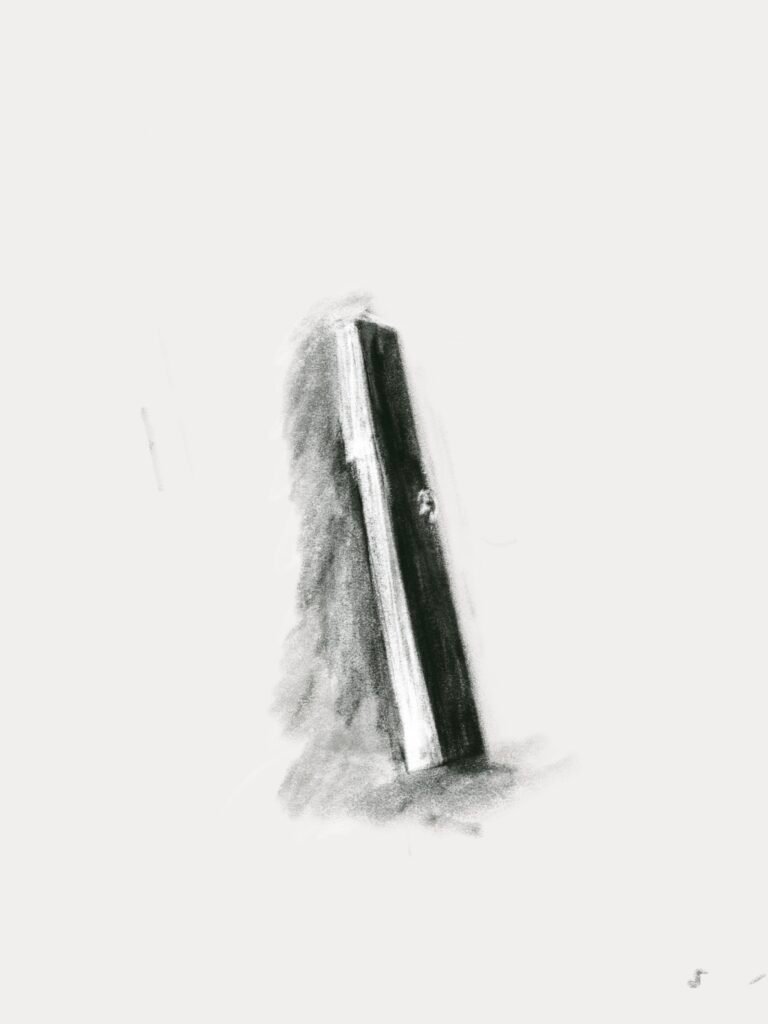
Sketch one interesting shape, detail or component from eg. the tiny screw. Use light and shadow to give it ‘drama. Make something insignificant ‘larger than life’, take it out of its mundane context and give it drama.
Step 6:
Transform it
Subvert its identity again – use the same sketch above and create a new identity for it, eg. multiply, split, bend or extract something.
Objective: Leave something of its original identity behind. For example: the pattern of ridges on the side, the little metal screw, or the sharp, angled edge of the blade. Use any medium to manipulate your original drawing.
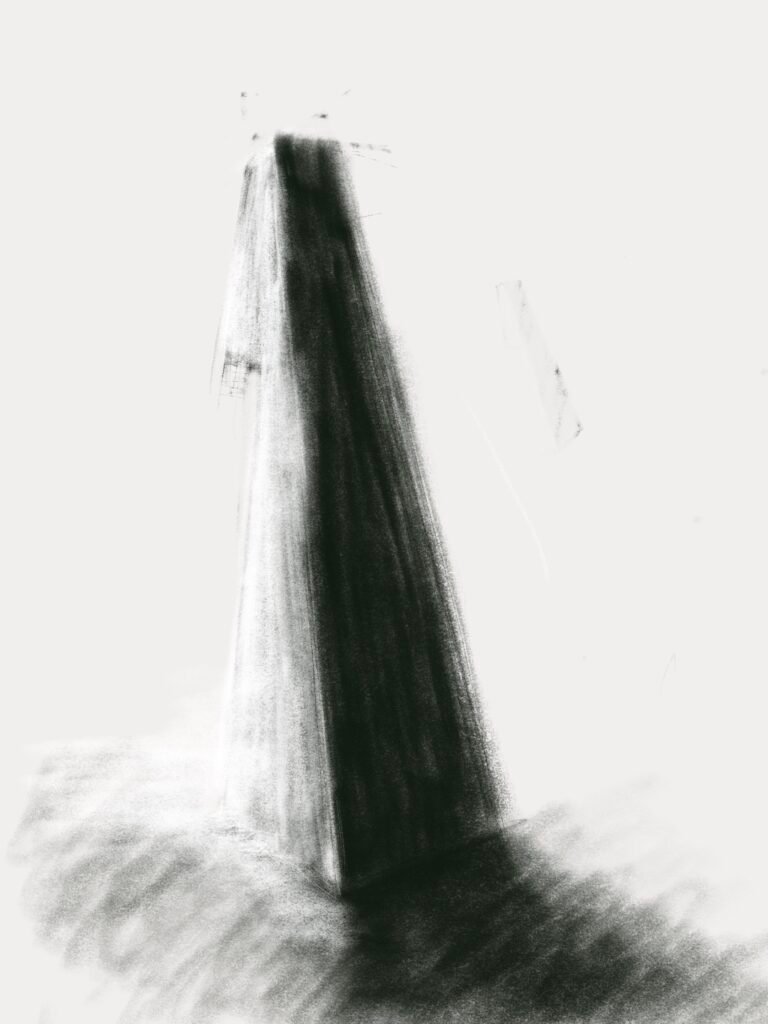
Note: we’re not doing visual effects or trying trick the viewer. This is about seeing. Seeing with honesty (authenticity) produces compelling images. That’s all you’re after.
Techniques to use:
👉 Analog (paper) = keep drawing or redrawing it.
👉 Digital (on any screen) = duplicate, merge, or rotate until it starts to morph into something else, ie. a new identify – in other words, it becomes something different from what it was before. Some kind of transformation must take place
Teacher’s tip:
if you can’s set up a fancy still life or think you don’t have interesting objects to draw, choose simple, unassuming objects around your desk, nightstand, kitchen counter, etc. Simple objects possess a lot of visual complexity (notice how rusted this one is, did you notice the textural pattern hidden inside it?) that isn’t obvious upon first glance, ie. unseen angles and minute details worthy of documenting. So don’t underestimate them. EDA is about seeing first (before drawing) – to see angles and details you’ve never noticed before and then to document/record them in any drawing style (sketching, doodling, scamping, drawing) that helps you express your experience of it.
Conclusion: The point is not the pencil sharpener
By the end of this exercise, you may have a collection of drawings that look very little like the object you started with.
That’s exactly the point.
The pencil sharpener was never really the subject. It was a prompt for looking.
When you slow down enough to notice the tiny screw, the repeated ridges, an unexpected angle or an interesting shadow, you begin to build a visual vocabulary from things that would otherwise disappear into the background.
And once you can extract those details, you can start to play with them. Repeat them. Enlarge them. Rearrange them. Transform them. Give them a new identity while still leaving some trace of where they came from.
This is one of the ideas we’ll return to throughout Everybody Draws: seeing comes before drawing.
You don’t need an extraordinary subject, an elaborate still life or a particular drawing style. You need to become curious about what is already in front of you.
So the next time you sit down to draw and think, I don’t have anything interesting to draw, look again.
Choose the most ordinary object you can find.
Then ask yourself:
What am I not seeing yet?