On the difference between drawing from life and drawing from a photograph — and why both have a seat at the table.
I’m going to be upfront with you: I draw from my iPad.
I can take it anywhere, set it on the kitchen table, prop it against a coffee cup in a café, and sketch something in front of me without a single pencil or sketchbook in sight.
That’s a genuine luxury. And I’ve still asked myself the same question you’re probably asking right now:
Can I just photograph the object from every angle and draw it later?
The honest answer is: yes, you can.
And also: it’s not the same thing.
Not because using a photo makes you less of a drawer, but because a photograph is already making decisions on your behalf — and most of the time, it doesn’t tell you.
What a Camera Does That Your Eyes Don’t
When you look at an object in real life, you’re not seeing a flat image. You’re receiving information from two eyes that are slightly apart, creating a subtle stereo effect.
Your brain is constantly triangulating: the distance between you and the thing, the way it curves away from you, how much space it actually occupies in the room.
A photograph collapses all of that into a single flat plane.
The lens chooses a focal point. Everything in front of and behind that point softens.
Highlights blow out or get crushed depending on the exposure.
The camera doesn’t know you care about the underside of that mug handle — it renders whatever catches the light most dramatically and calls it done.
When you draw from life, you are the camera. You choose the focal point.
You decide how much to look at the shadow under the rim versus the texture of the glaze.
You can shift your head two inches to the left and suddenly see a hidden edge that changes your understanding of the whole form.
That active, embodied looking is the drawing. The marks on the page are just the record of it.
“A photograph compresses space. Drawing from life asks you to witness an object existing in it — occupying volume, casting shadow, holding its ground in three dimensions.”
The Problem with Drawing “Around” an Object
Here’s what the 20-views exercise is actually asking you to do: move.
Look at the same object from twenty different positions and orientations.
Not just “front, side, back” in the way a product photographer would document it — but genuinely strange angles. Underneath. Hovering over it. From three inches away. From across the room.
When you do this from life, something interesting happens.
You start to build a mental model. By view 7 or 8, you’re no longer really looking at the object as a collection of outlines.
You’re beginning to understand its volume — how its mass sits in space, how light wraps around it consistently (or doesn’t), where it’s thicker or thinner than you assumed.
That internal model is what you’re actually building.
The drawings are evidence that you’re building it.
When you work from photos — even twenty of them — you’re drawing the camera’s interpretation twenty times. The foreshortening is already decided. The tonal compression is already done.
You’re copying a solution rather than solving the problem yourself.
That gap matters. Not morally. Just practically, in terms of what you’re training your eye to do.
“My life drawing teacher said it thirty years ago and I’ve never forgotten it: feel the form. Not look at it. Feel it. Run your imaginary hand along the curve of a hunched spine, sense the roundness of each vertebra, the way the back rounds and pulls away from you — and then draw from that felt understanding. The line follows what the body already knows.”
Feel the Form
Thirty years ago, my life drawing teacher said something I’ve never forgotten.
It wasn’t technical advice about line weight or proportion. It was this:
Feel the form.
Not look at it. Feel it.
What he meant was this: when you’re observing something — a hunched back, a rounded shoulder, the belly of a ceramic jug — you should be imagining the physical sensation of running your hand across it.
Feel the roundness of the form.
Sense the curve, the resistance, the way it moves away from you into space.
And then draw from that felt understanding, not just from what your eye is registering visually.
The result is something difficult to explain but immediately visible in the work.
- The line stops being a boundary and starts becoming a contour.
- It follows the form rather than outlining it.
- It carries the weight of the thing it’s describing.
This is only possible from life.
A photograph doesn’t have a form you can feel. It has a surface you can read.
The distinction sounds small.
In practice, it changes everything about how the drawing behaves on the page.
The “feel the form” instruction is also a self-correcting mechanism.
When a line goes wrong — when a curve flattens where it shouldn’t, or a shape loses its sense of volume — returning to the felt sensation of the form resets your hand.
You’re no longer guessing at the correct line.
You’re transcribing a physical understanding that your imagination has already constructed.
This is, in essence, what observational drawing is training. Not the eye alone.
The whole sensory relationship between you and the thing in front of you.
Where the Photo Genuinely Helps
None of this means the photo is the enemy.
Here’s where it’s a real ally:
When the object can’t sit still. Pets, people, moving water, candle flame — anything with a natural tendency to not cooperate.
A photograph freezes the moment so you can study it at your own pace. For those subjects, a photo is often the only realistic option. When you need to capture a specific composition.
You’ve found a beautiful arrangement of objects on a windowsill and the light is right for exactly eight minutes. Photograph it. Then draw from the photo later with the awareness that you’re working from a flattened, interpreted document — not the thing itself. As a reference, not a source.
The distinction is subtle but important.
- Using a photo as a reference:
- means checking it occasionally while drawing mostly from your understanding. Using it as a source means copying from it point by point. The first approach keeps your eye in charge. The second hands control to the lens.
- For proportion checking:
- If you’re halfway through a drawing from life and the left side of your subject has moved (or you’ve moved), a reference photo taken at the start can help you verify proportions. This is especially useful for longer studies.
- When you’re working digitally and away from the object:
- Honestly? This is just real life for a lot of us. If you sketched the object once from life and took notes — visual or written — a photo to draw from later is a legitimate continuation of that observation, not a replacement for it.
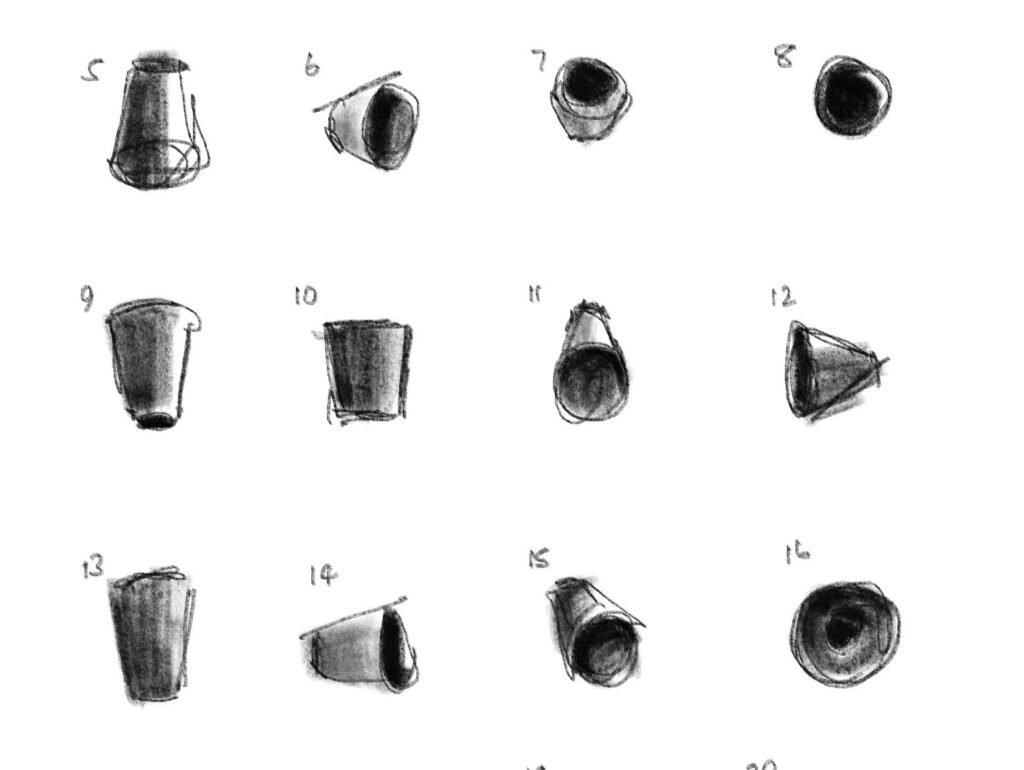
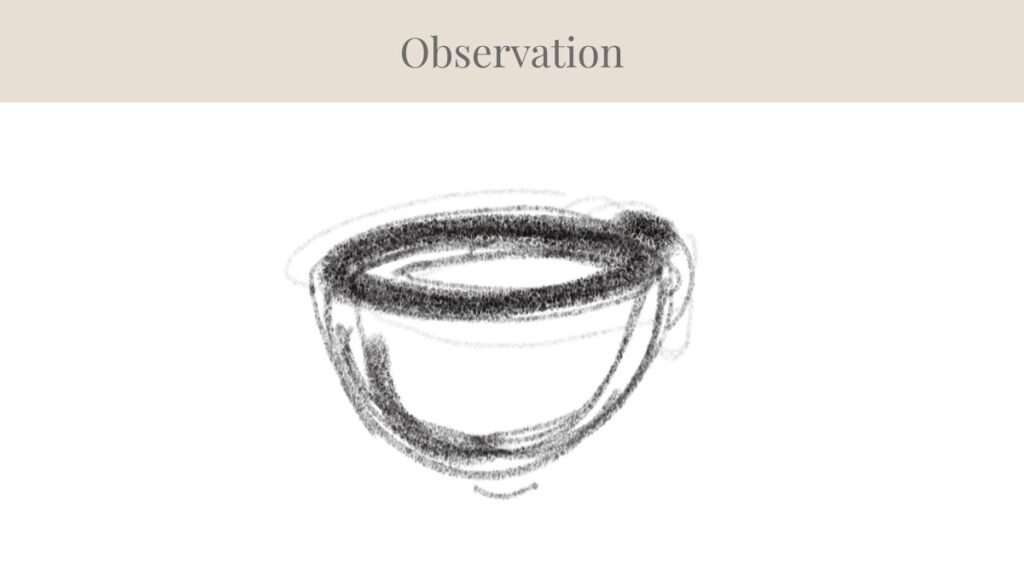
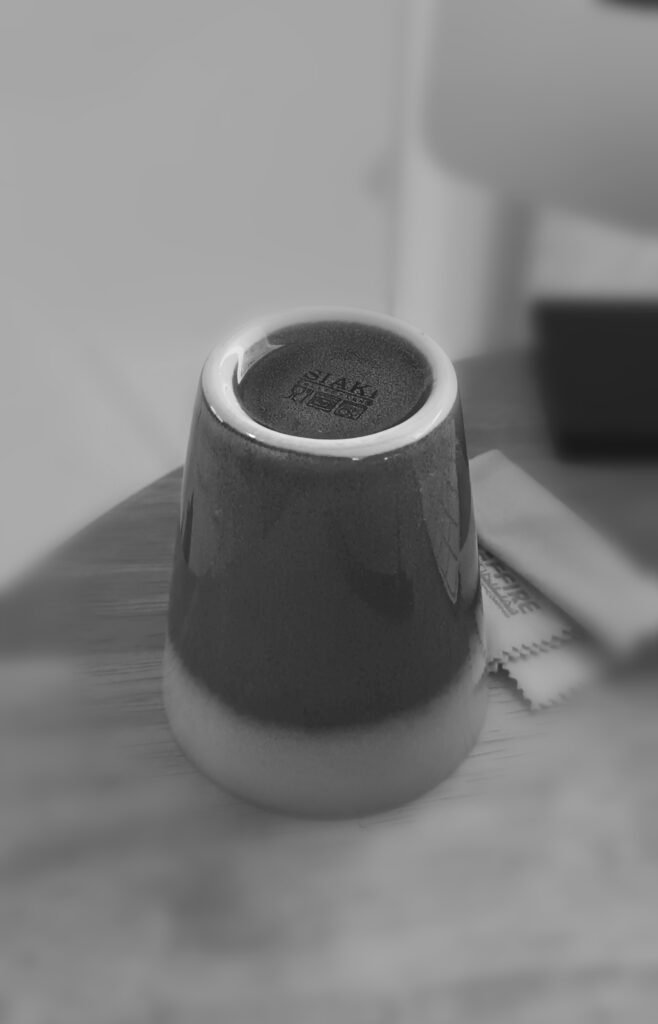
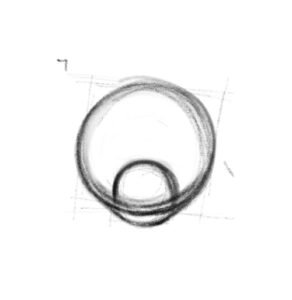
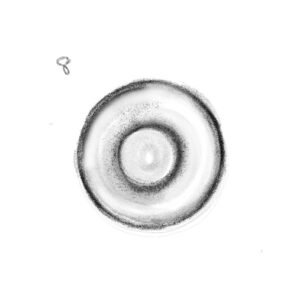
20 Simple Drawing Exercises Using a Coffee Cup (That Actually Improve Your Skills)
The Thing No Photo Can Give You
Scale. Real, embodied, physical scale.
A golf ball photographed to fill the frame looks the same size as an orange photographed to fill the frame.
Your eye in real life knows differently — not just because of context clues, but because your body has a memory of golf balls and oranges. You know what it feels like to hold each one.
That proprioceptive knowledge sneaks into your drawings in ways you don’t consciously direct.
When students draw shoes from life for the first time, they almost always draw them bigger than when they draw from a photo.
- The shoe from life has gravity.
- It sits on a surface.
- It has a relationship with the floor that your body recognises.
That presence translates into mark-making that feels different — more grounded, more committed.
You can’t replicate that from a screen.
Related reading: Why Your Drawings Look Flat (And How to Fix It)
A Practical Framework for the 20-Views Exercise
If you’re working through the 20-views generator and wondering how to handle the photo question, here’s a way to think about it:
Do at least the first 5–7 views from life. This is when your brain is building the initial model.
Give it real, three-dimensional input.
Move around the object. Handle it if you can.
Let your understanding develop without the camera mediating.
Photograph if you need to stop. Life happens. If you need to come back to the exercise later and the object won’t be in the same position — or you won’t be in the same place — photograph it from several angles as a record. Note which views you’ve already done.
When drawing from the photos, stay aware.
You’re now working from a document, not the thing.
The photo’s perspective has compressed space and made decisions.
Check in with your memory of the actual object whenever something looks off. Trust your lived experience over the image.
Come back to the object for the final views if you can.
The last few views — the ones where you’ve been around the thing enough to understand it well — are often the best drawings. They deserve the real object.
And when you get there, remember what the teacher said: don’t just look at it. Feel it.
The Short Version
A photograph is a translation.
It takes a three-dimensional, light-filled, physically present object and renders it as a flat, light-compressed, fixed-perspective document.
Drawing from that document trains your eye to read photographs.
Drawing from life trains your eye to experience how an object exists in space with your whole body, and visually ‘feel’ with your mind and eyes.
Both are useful skills. Only one of them is what we’re here for.
Draw from life when you can. Use the photo when you must. Know the difference between the two experiences — because your eye will.
And when you’re not sure your line is telling the truth: stop looking. Start ‘feeling’.
The 20-Views Generator on Everybody Draws Academy is built around observational drawing from life. If you’re new to the exercise, start with any object within reach. The point isn’t the drawing. It’s the looking.